elementary使用技巧
❯ neofetch
         eeeeeeeeeeeeeeeee            jcleng@jcleng-pc
      eeeeeeeeeeeeeeeeeeeeeee         ----------------
    eeeee  eeeeeeeeeeee   eeeee       OS: elementary OS 5.1.7 Hera x86_64
  eeee   eeeee       eee     eeee     Host: 20FRS0UM00 ThinkPad X1 Yoga 1st
 eeee   eeee          eee     eeee    Kernel: 5.4.0-73-generic
eee    eee            eee       eee   Uptime: 42 mins
eee   eee            eee        eee   Packages: 2169 (dpkg), 1018 (nix-user)
ee    eee           eeee       eeee   Shell: zsh 5.8
ee    eee         eeeee      eeeeee   Resolution: 3840x2160
ee    eee       eeeee      eeeee ee   DE: Pantheon
eee   eeee   eeeeee      eeeee  eee   WM: Mutter(Gala)
eee    eeeeeeeeee     eeeeee    eee   Terminal: io.elementary.t
 eeeeeeeeeeeeeeeeeeeeeeee    eeeee    CPU: Intel i5-6300U (4) @ 3.000GHz
  eeeeeeee eeeeeeeeeeee      eeee     GPU: Intel Skylake GT2 [HD Graphics 520]
    eeeee                 eeeee       Memory: 4080MiB / 7828MiB
      eeeeeee         eeeeeee
         eeeeeeeeeeeeeeeee
卸载ibus安装fcitx
sudo aptitude install fcitx fcitx-config-gtk fcitx-ui-qimpanel

# 启动服务
fcitx &
# 设置,增加拼音即可
fcitx-configtool
# material风格皮肤 https://github.com/hrko/fcitx-skin-material 使用软件fcitx-ui-qimpanel 运行命令启动:
# /usr/share/fcitx-qimpanel/skin/material 皮肤位置
# 皮肤start
fcitx-qimpanel
# 切换皮肤
fcitx-qimpanel-configtool


# 增加开机启动脚本
# Linux jcleng-pc 5.4.0-73-generic #82~18.04.1-Ubuntu SMP Fri Apr 16 15:10:02 UTC 2021 x86_64 x86_64 x86_64 GNU/Linux
# 图形化设置开启启动, 这个是进入桌面之后执行
gnome-session-properties
# add
/usr/bin/fcitx-autostart
# or
/usr/bin/fcitx

# and
/usr/bin/fcitx-qimpanel
# or
/usr/share/fcitx-qimpanel/fcitx-qimpanel-autostart


# 使用左边shift切换中英输入法,进入[输入法配置][切换激活输入法]设置为左shift按键
# 查看配置生效(重启输入法)
# 全局配置联赛
cat ~/.config/fcitx/profile
# 其他配置
cat $HOME/.config/fcitx/config|more
# 显示编辑config:
  [Hotkey]
  # 切换激活/非激活输入法
  TriggerKey=SHIFT_LSHIFT
  .....

  .....
  [Output]
  # 切换状态时提交
  # Available Value:
  # True False
  SendTextWhenSwitchEng=True
  .....
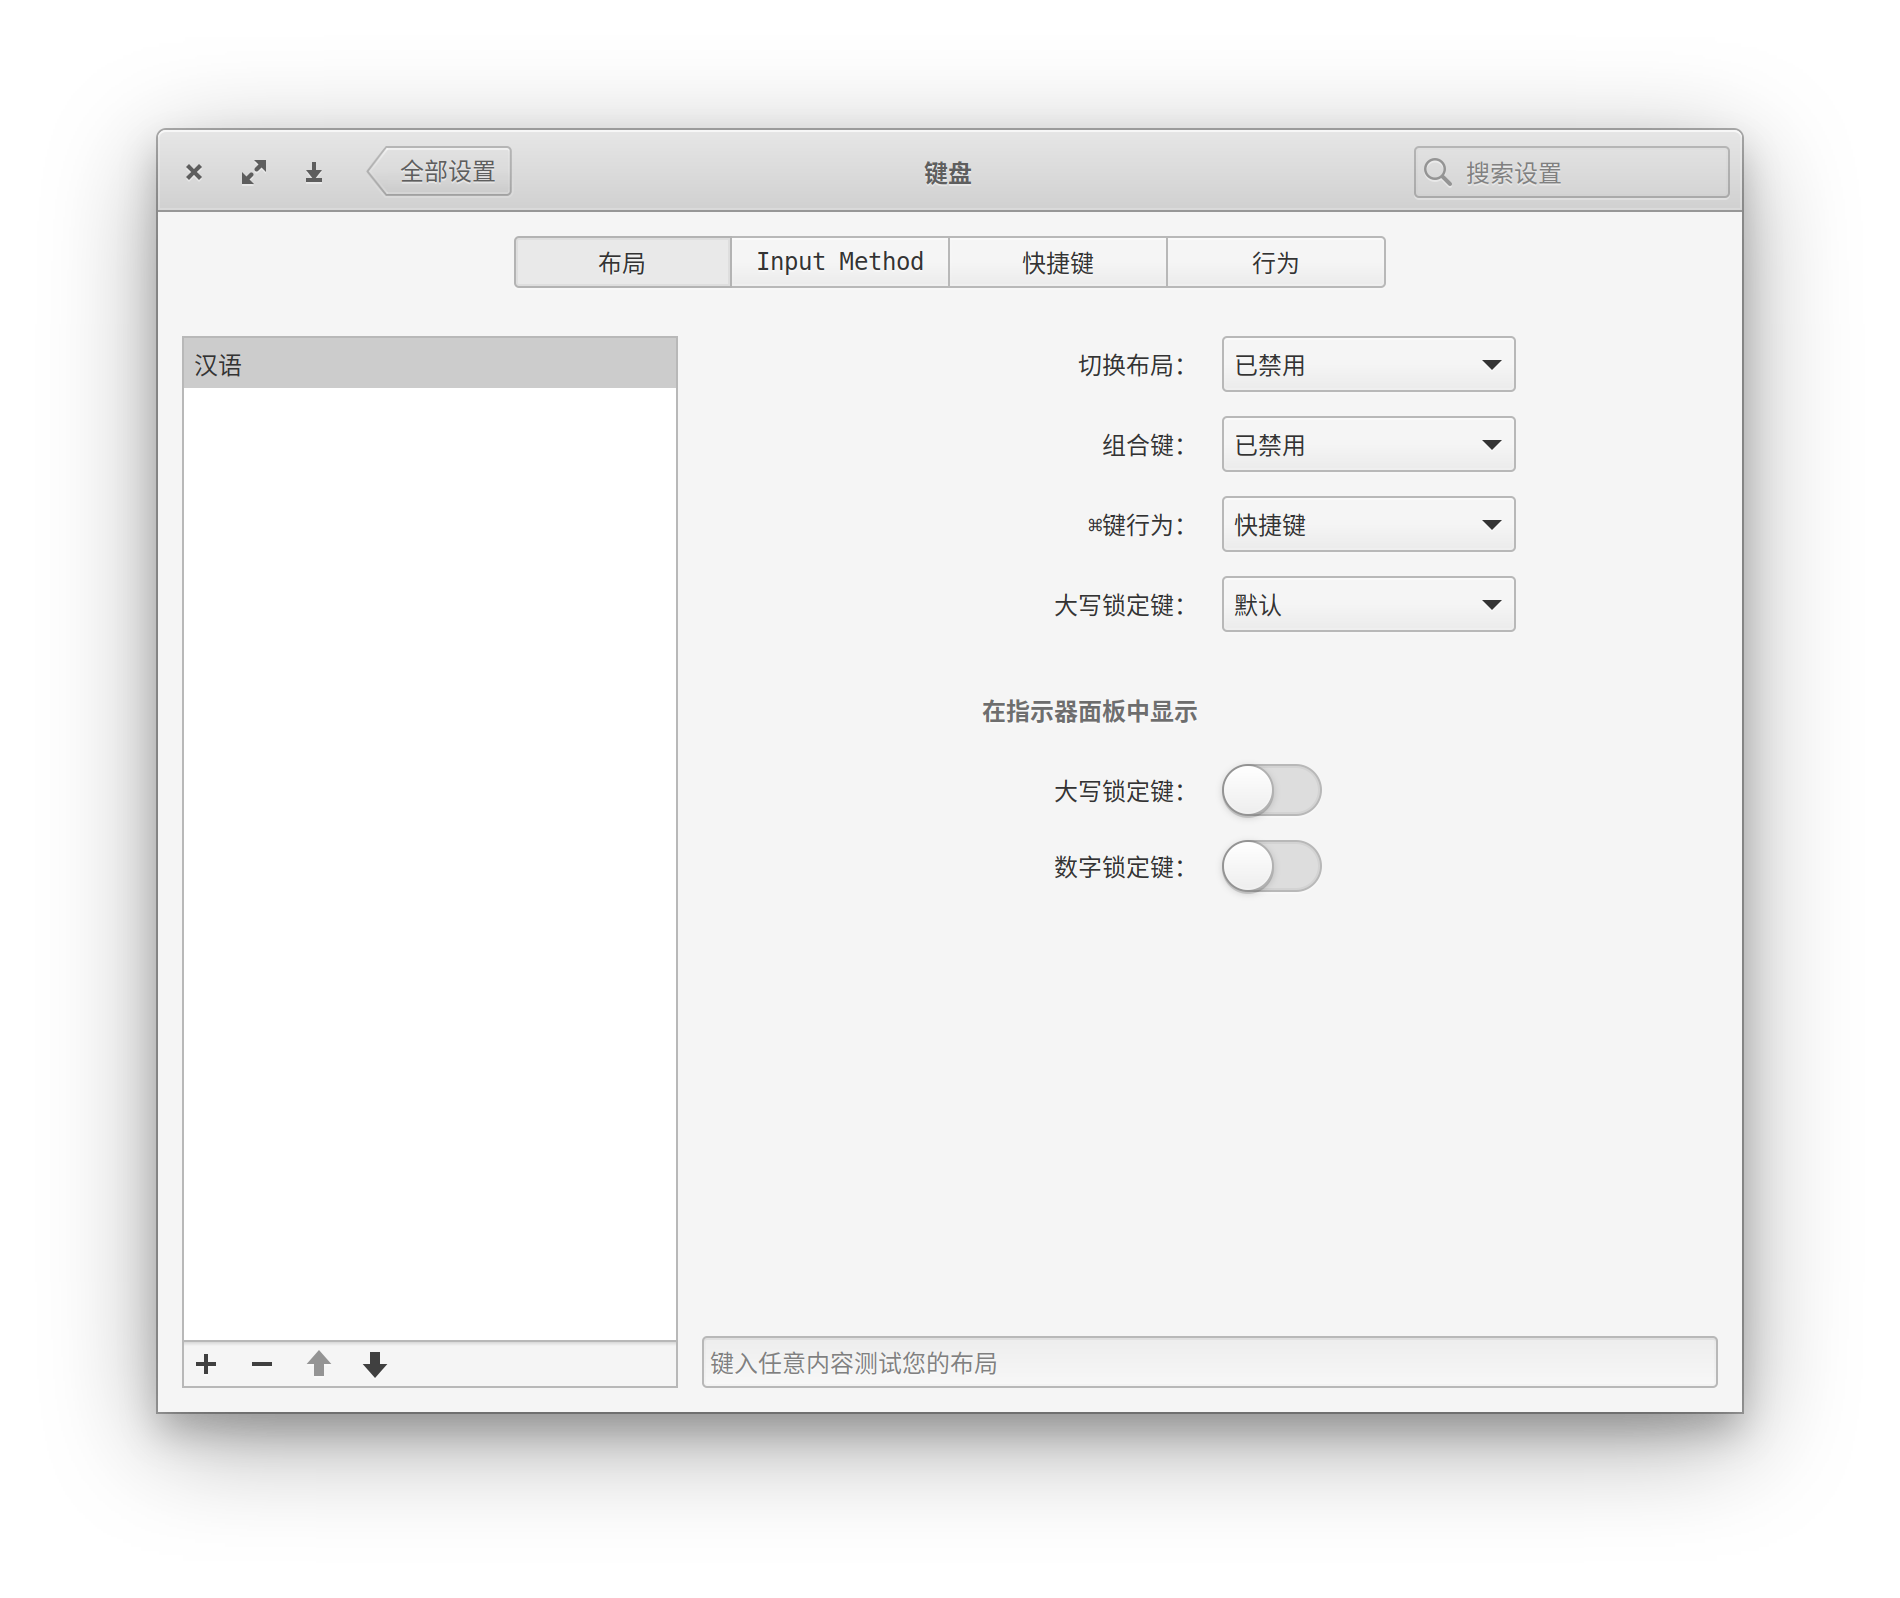
安装设置插件
# 安装这个玩意,是因为不安装就没有键盘设置
# 默认切换布局的快捷键和vscode的格式化快捷键有冲突,安装这个软件之后把默认的快捷键给禁用
# 还可以设置各种快捷键
sudo apt install switchboard-plug-keyboard/bionic
# 各种图形化设置
sudo apt-get install elementary-tweaks
包管理工具,当然还是nix-packages
显示器亮度调节
# 显示所有接口
xrandr
# 调整亮度(我是外接的DP)
xrandr --output DP-1 --brightness 0.4
安装个下载器
nix-env -iA nixpkgs.uget
主题图标
sudo apt-add-repository ppa:numix/ppa
sudo apt-get update
sudo apt-get install numix-icon-theme-circle
# 安装之后进入[设置][tweaks]设置即可
# 使用rime,我是ubuntu18(bionic)
fcitx-rime/bionic

# 重启然后选择
fcitx-rime.conf

配置rime
# 配置文件, 每次编辑之后需要重启输入法
/home/jcleng/.config/fcitx/rime/default.yaml

# 进入图形化配置设置切换输入法快捷键设置为ctrl+space
# 然后配置文件/home/jcleng/.config/fcitx/rime/default.yaml
# 左shift为上档code, 可以参考: https://gitee.com/jcleng/squirrel.custom.yaml/blob/master/default.custom.yaml
Shift_L: commit_code
rime配置原文/home/jcleng/.config/fcitx/rime/default.yaml , 在邮件[rime-ubuntu18]可查看附件
# Rime default settings
# encoding: utf-8

config_version: "0.35"

schema_list:
  - schema: luna_pinyin
  - schema: cangjie5
  - schema: luna_pinyin_fluency
  - schema: luna_pinyin_simp
  - schema: luna_pinyin_tw

switcher:
  caption: 〔方案選單〕
  hotkeys:
    - Control+grave
    - Control+Shift+grave
    - F4
  save_options:
    - full_shape
    - ascii_punct
    - simplification
    - extended_charset
  fold_options: true
  abbreviate_options: true
  option_list_separator: '/'

menu:
  page_size: 9

punctuator:
  full_shape:
    ' ' : { commit: ' ' }
    ',' : { commit: , }
    '.' : { commit: 。 }
    '<' : [ 《, 〈, «, ‹ ]
    '>' : [ 》, 〉, », › ]
    '/' : [ /, ÷ ]
    '?' : { commit: ? }
    ';' : { commit: ; }
    ':' : { commit: : }
    '''' : { pair: [ '‘', '’' ] }
    '"' : { pair: [ '“', '”' ] }
    '\' : [ 、, \ ]
    '|' : [ ·, |, '§', '¦' ]
    '`' : `
    '~' : ~
    '!' : { commit: ! }
    '@' : [ @, ☯ ]
    '#' : [ #, ⌘ ]
    '%' : [ %, '°', '℃' ]
    '$' : [ ¥, '$', '€', '£', '¥', '¢', '¤' ]
    '^' : { commit: …… }
    '&' : &
    '*' : [ *, ·, ・, ×, ※, ❂ ]
    '(' : (
    ')' : )
    '-' : -
    '_' : ——
    '+' : +
    '=' : =
    '[' : [ 「, 【, 〔, [ ]
    ']' : [ 」, 】, 〕, ] ]
    '{' : [ 『, 〖, { ]
    '}' : [ 』, 〗, } ]
  half_shape:
    ',' : { commit: , }
    '.' : { commit: 。 }
    '<' : [ 《, 〈, «, ‹ ]
    '>' : [ 》, 〉, », › ]
    '/' : [ 、, '/', /, ÷ ]
    '?' : { commit: ? }
    ';' : { commit: ; }
    ':' : { commit: : }
    '''' : { pair: [ '‘', '’' ] }
    '"' : { pair: [ '“', '”' ] }
    '\' : [ 、, '\', \ ]
    '|' : [ ·, '|', |, '§', '¦' ]
    '`' : '`'
    '~' : [ '~', ~ ]
    '!' : { commit: ! }
    '@' : '@'
    '#' : '#'
    '%' : [ '%', %, '°', '℃' ]
    '$' : [ ¥, '$', '€', '£', '¥', '¢', '¤' ]
    '^' : { commit: …… }
    '&' : '&'
    '*' : [ '*', *, ·, ・, ×, ※, ❂ ]
    '(' : (
    ')' : )
    '-' : '-'
    '_' : ——
    '+' : '+'
    '=' : '='
    '[' : [ 「, 【, 〔, [ ]
    ']' : [ 」, 】, 〕,  ] ]
    '{' : [ 『, 〖, { ]
    '}' : [ 』, 〗, } ]

key_binder:
  bindings:
    # Emacs style
    - { when: composing, accept: Control+BackSpace, send: Escape } # 清屏
    - { when: composing, accept: Shift, send: Enter } # ctrl-c 清屏
    - { when: composing, accept: -, send: Page_Up } # 候选词分页
    - { when: composing, accept: =, send: Page_Down } # 候选词分页
    - { when: always, accept: Control+period, toggle: ascii_punct } # 切换西文/中文标点 Ctrl + .


recognizer:
  patterns:
    email: "^[A-Za-z][-_.0-9A-Za-z]*@.*$"
    uppercase: "[A-Z][-_+.'0-9A-Za-z]*$"
    url: "^(www[.]|https?:|ftp[.:]|mailto:|file:).*$|^[a-z]+[.].+$"

ascii_composer:
  good_old_caps_lock: true
  switch_key:
    Shift_L: commit_code
    Shift_R: commit_text
    Control_L: noop
    Control_R: noop
    Caps_Lock: clear
    Eisu_toggle: clear
登录蓝牙连接
# 这个安装时候会安装一个sleep命令, 和系统的冲突,这个sleep是问题的
nixpkgs.cni

# 使用创建一个连接蓝牙的脚本 /home/jcleng/Desktop/bluetooth-auto-connect.sh
# E0:CC:F8:FF:44:F9是连接蓝牙设备的mac地址,先配对一次设置为信任,然后再使用本脚本, 加入到启动gnome-session-properties

#!/bin/bash
for((i=1;i<=10;i++));
do

/bin/sleep 5
echo "will bule do..."
echo -e 'connect E0:CC:F8:FF:44:F9' | bluetoothctl &

done


/bin/sleep 60
echo "will bule kill..."
pkill bluetooth-auto-connect.sh
登录黑屏
# 随便进入一个tty
# 杀死进程Xorg即可,还是黑屏直接startx
sudo pkill Xorg
创建蓝牙开机启动服务bluetooth-auto-connect-local.service
cd /etc/systemd/system
sudo touch bluetooth-auto-connect-local.service
sudo chmod 644 bluetooth-auto-connect-local.service

# 开启开机启动
systemctl enable bluetooth-auto-connect-local.service
# 关闭开机启动
systemctl disable bluetooth-auto-connect-local.service
# 立即启动
systemctl start bluetooth-auto-connect-local.service
# 查看运行日志
journalctl -u bluetooth-auto-connect-local.service
bluetooth-auto-connect-local.service原文(ExecStart就是那个脚本即可)
[Unit]
Description=sslocal systemd service.

[Service]
Type=simple
ExecStart=/home/jcleng/Desktop/bluetooth-auto-connect.sh

[Install]
WantedBy=multi-user.target
配置lightdm启动时候的钩子
# 创建
sudo touch /usr/share/lightdm/lightdm.conf.d/50-bluetooth.conf

cat /usr/share/lightdm/lightdm.conf.d/50-bluetooth.conf

# 50-bluetooth.conf文件原文
[SeatDefaults]
display-setup-script=/home/jcleng/Desktop/bluetooth-auto-connect.sh
display-stopped-script=/home/jcleng/Desktop/bluetooth-auto-connect.sh
greeter-setup-script=/home/jcleng/Desktop/bluetooth-auto-connect.sh
session-setup-script=/home/jcleng/Desktop/bluetooth-auto-connect.sh
session-cleanup-script=/home/jcleng/Desktop/bluetooth-auto-connect.sh
session-wrapper=/home/jcleng/Desktop/bluetooth-auto-connect.sh
greeter-wrapper=/home/jcleng/Desktop/bluetooth-auto-connect.sh
设默认的编辑器为vscode
# 编辑到变量环境
export EDITOR="code --wait"


# 如果普通用户不能编辑管理员的文件如etc美目录的文件, 使用命令:
sudo -e /etc/nixos/configuration.nix
# 就可以保存sudo的文件了