初次使用rime鼠须管输入法
简介
hello,大家好,今天给大家介绍一个自定义比较高且开源的输入法
RIME中州韵输入法。这款输入法是是多平台的,支持windos,macos,以及linux。官网在这里https://rime.im/
下载和安装
进入
RIME输入法的官网https://rime.im/,点击下载,找到对应平台的下载地址,windos对应的是小狼毫,macos对应的是鼠须管,linux对应了ibus以及fcitx。我这里下载macos系统的鼠须管输入法。安装完成之后,打开
设置-键盘-输入法,点击+选择简体中文以及右边选择鼠须管点击添加即可。默认输入的是繁体,而且看起来比较丑,那么接下来就是稍微快速的让他变得不那么丑。
基本配置
按
F4选择输入方式,选择明月拼音简化字即可输入简体字。打开右上角的输入法图标右键打开选项菜单,选择
用户设定,这里会打开用户配置的文件夹,即:~/Library/Rime文件夹。编辑配置文件(没有文件请创建):
default.custom.yaml注意: 配置文件是
yaml格式,每一个空格都不能出错,语法学习查看官方用户手册
以下是一个
default.custom.yaml文件基本配置实例,直接可用:patch: menu/page_size: 9 # 输入框待选项个数 ascii_composer/switch_key: # ctrl&&shift 切换键效果 Caps_Lock: clear # 清屏幕 Shift_L: commit_code # 上档code Control_L: noop # 不处理 Shift_R: inline_ascii # 切换字符不上档 Control_R: noop # 不处理 key_binder: bindings: - { when: composing, accept: Control+c, send: Escape } # ctrl-c 清屏 - { when: composing, accept: Control+p, send: Page_Up } # 候选词分页 - { when: composing, accept: Control+n, send: Page_Down } # 候选词分页 - { when: always, accept: Control+period, toggle: ascii_punct } # 切换西文/中文标点 Ctrl + .
主题配色
配置文件,macos和windos的配置文件不是同一个,macos是:
~/Library/Rime/squirrel.custom.yaml,windos配置文件是:~/Library/Rime/weasel.custom.yaml。这里来配置macos的
squirrel.custom.yaml创建或者编辑文件
squirrel.custom.yaml主题配置的创建可用使用Rime-See-Me-squirrel在线生成
以下是一个
squirrel.custom.yaml文件基本配置实例,直接可用: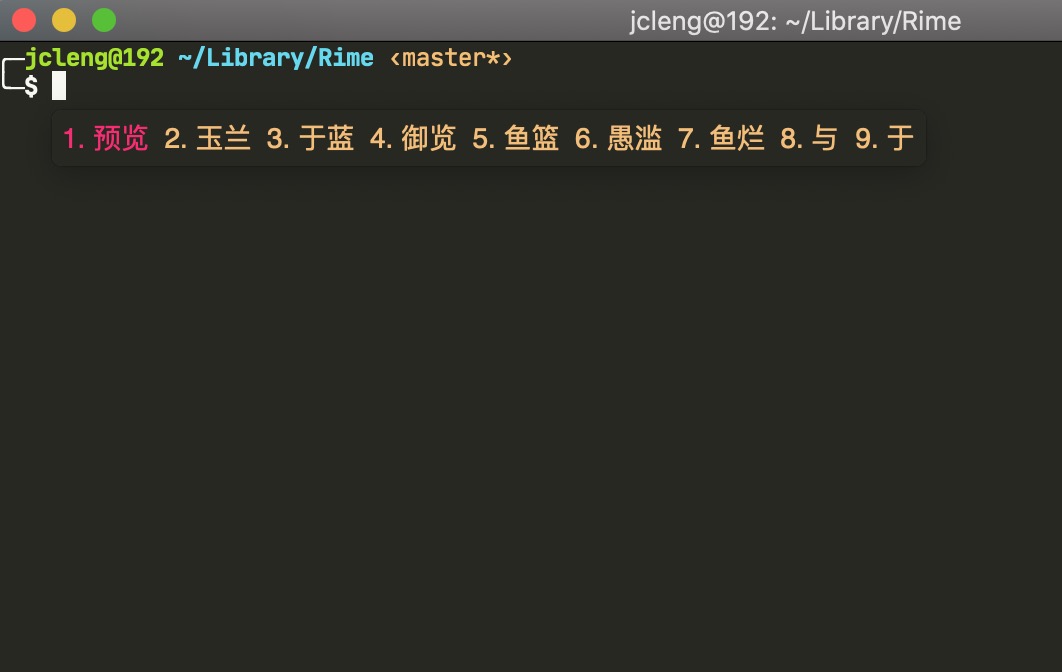
patch:
  style:
    color_scheme: monokai_dark # 使用主题名称,在文件的主题列表里面
    horizontal: true
    inline_preedit: true
    # candidate_format: "%c\u2005%@ \u2005"   # 用 1/6 em 空格 U+2005 来控制编号 %c 和候选词 %@ 前后的空间。
    font_point: 14                          # 候选文字大小
    label_font_point: 14                    # 候选编号大小
    corner_radius: 5                        # 候选条圆角
    border_height: 0                        # 窗口边界高度,大于圆角半径才生效
    border_width: 0                         # 窗口边界宽度,大于圆角半径才生效
  preset_color_schemes: # 主题列表
    monokai_dark: # monokai_dark主题
      name: "monokai_dark"
      author: "monokai_dark"
      back_color: '0x222827'
      text_color: '0x2EE2A6'
      hilited_text_color: '0x2EE2A6'
      hilited_back_color: '0x222827'
      hilited_candidate_text_color: '0x7226F9'
      hilited_candidate_back_color: '0x222827'
      hilited_candidate_label_color: '0x7226F9'
      hilited_comment_text_color: '0x7226F9'
      candidate_text_color: '0x75BFF4'
      label_color: '0x75BFF4'
      comment_text_color: '0x75BFF4'
其他
关于windos小狼毫
在线生成主题Rime-See-Me
创建或者编辑文件
weasel.custom.yamlcustomization: distribution_code_name: Weasel distribution_version: 0.14.3 generator: "Weasel::UIStyleSettings" modified_time: "Fri Dec 20 10:44:24 2019" rime_version: 1.5.3 patch: "preset_color_schemes/DarkGreen": author: Mirtle back_color: 0x000000 border_color: 0x000000 candidate_text_color: 0xFFFFFF comment_text_color: 0x3434BF hilited_back_color: 0x000000 hilited_candidate_back_color: 0x000000 hilited_candidate_text_color: 0xFFFFFF hilited_text_color: 0xA3A3A3 name: "暗绿" text_color: 0xFFFFFF style: corner_radius: 0 font_face: "黑体" font_point: 13 horizontal: true inline_preedit: true layout: {border_width: 2, candidate_spacing: 0, hilite_padding: 5, hilite_spacing: 5, margin_x: 5, margin_y: 5, min_width: 102, round_corner: 0, spacing: 5} "style/color_scheme": DarkGreen
最后
本教程只是一个入门级视频,能够实现快速的安装和使用,要实现更加的易用性还得好好调教,看看官方的用户手册。
安卓同文输入法同文输入法/合欢版本
# 下载[同文输入法和同文无障碍版安装包]
# 安装之后配置目录: /内部存储设备/Android/rime/
# 我使用的[朙月拼音], 编辑配置文件: luna_pinyin.custom.yaml
# 双键配置
# 测试hoa => hao是否生效(需要重新部署)
# 模糊音文档: https://github.com/osfans/trime/wiki/%E4%BA%94%E7%AC%94%E5%8F%8C%E9%94%AE%E9%85%8D%E7%BD%AE%E6%A1%88%E4%BE%8B%E8%AF%A6%E8%A7%A3(%E4%B8%89)-%E7%94%A8%E6%A8%A1%E7%B3%8A%E9%9F%B3%E5%AE%9E%E7%8E%B0%E5%8F%8C%E9%94%AE%E8%BD%AC%E6%8D%A2
patch:
'speller/algebra': # 模糊音
- erase/^xx$/ # 第一行保持不变
- derive/ao$/oa/ # hoa => hao
# 双键
- derive/w/q/
- derive/r/e/
- derive/y/t/
- derive/i/u/
- derive/p/o/
- derive/s/a/
- derive/f/d/
- derive/h/g/
- derive/k/j/
- derive/c/x/
- derive/b/v/
- derive/m/n/
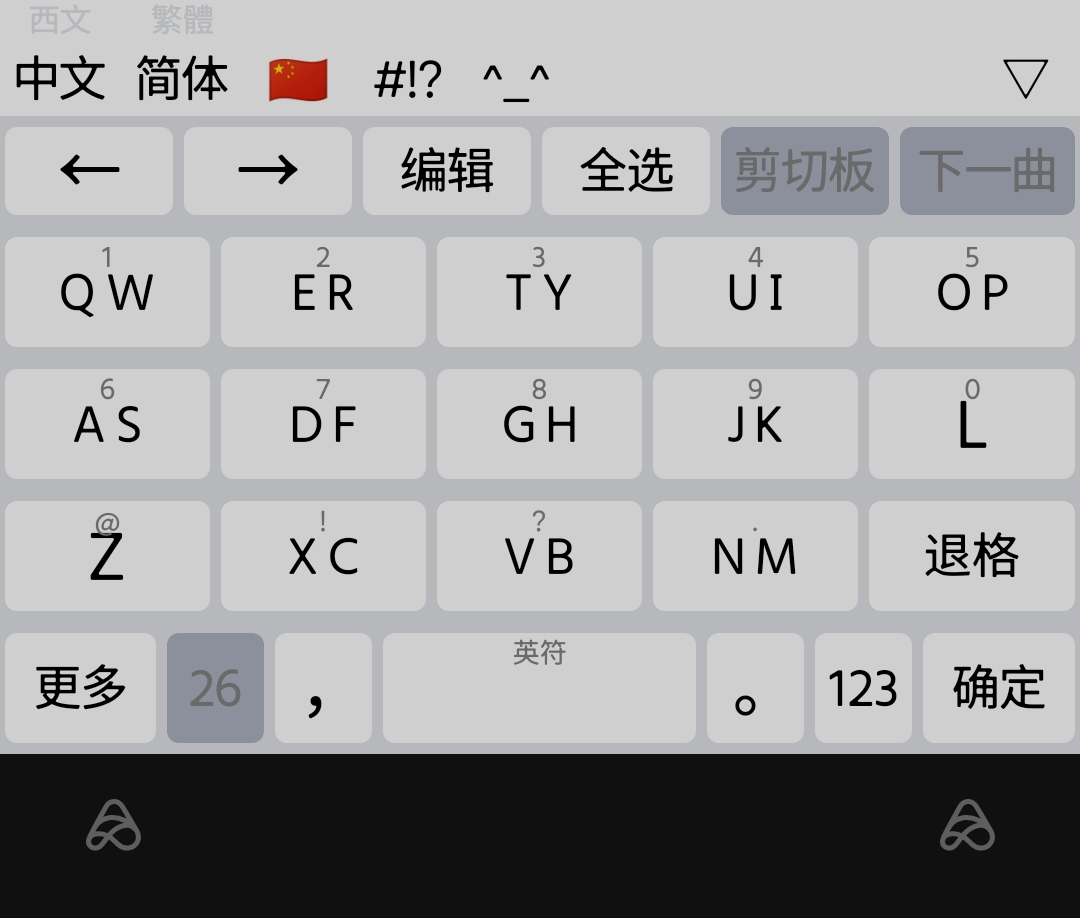
# 修改[同文风]主题键盘布局: /内部存储设备/Android/rime/tongwenfeng.trime.yaml 对应的qwerty/keys
# 可以用过 修改click: w => click: w2 来标记当前键盘对应
qwerty:
name: 預設26鍵
author: "osfans <[email protected]>"
ascii_mode: 0
columns: 10 #鍵盤列數,超過則自動換行,默認30列
width: 20 # 单键是10
height: *jpgd4
lock: true
key_symbol_offset_x: 0
key_symbol_offset_y: 0
key_text_offset_x: 0
key_text_offset_y: 0
key_hint_offset_x: 0
key_hint_offset_y: 0
key_press_offset_x: 2
key_press_offset_y: 2
keys:
# 第一行
- {label: "Q W", click: q, long_click: 1}
- {label: "E R", click: e, long_click: 2}
- {label: "T Y", click: t, long_click: 3}
- {label: "U I", click: u, long_click: 4}
- {label: "O P", click: o, long_click: 5}
#第二行
- {label: "A S", click: a, long_click: 6}
- {label: "D F", click: d, long_click: 7}
- {label: "G H", click: g, long_click: 8}
- {label: "J K", click: j, long_click: 9}
- {label: "L" , click: l, long_click: 0}
# 第三行
# - {label: "26", click: Keyboard_letter, width: 10} # 字母
- {label: "Z" , click: z, long_click: "@"}
- {label: "X C", click: x, long_click: "!"}
- {label: "V B", click: v, long_click: "?"}
- {label: "N M", click: n, long_click: "."}
- {click: BackSpace}
#第四行
- {click: Keyboard_symbols, width: 15}
- {label: "26", click: Keyboard_letter, width: 10} # 字母
# - {click: Keyboard_qwerty, label: "全", long_click: Menu, width: 10}
- {click: ",", width: 10}
- {label: " " , click: space, long_click: Keyboard_bqsy2, width: 30}
- {click: "。", width: 10}
- {label: "123", click: Keyboard_number, width: 10}
- {label: "确定", click: Return, width: 15}
# - {click: q, long_click: 1, key_back_color: bh1, key_text_color: th1}
# - {click: w4, long_click: 2, key_back_color: bh1, key_text_color: th1}
# - {click: e, long_click: 3, key_back_color: bh1, key_text_color: th1}
# - {click: r, long_click: 4, key_back_color: bh1, key_text_color: th1}
# - {click: t, long_click: 5, key_back_color: bh1, key_text_color: th1}
# - {click: y, long_click: 6, key_back_color: bh1, key_text_color: th1}
# - {click: u, long_click: 7, key_back_color: bh1, key_text_color: th1}
# - {click: i, long_click: 8, key_back_color: bh1, key_text_color: th1}
# - {click: o, long_click: 9, key_back_color: bh1, key_text_color: th1}
# - {click: p, long_click: 0, key_back_color: bh1, key_text_color: th1}
# - {width: 5, key_back_color: bh2, key_text_color: th2}
# - {click: a, long_click: select_all, key_back_color: bh2, key_text_color: th2}
# - {click: s, long_click: '@', key_back_color: bh2, key_text_color: th2}
# - {click: d, long_click: '#', key_back_color: bh2, key_text_color: th2}
# - {click: f, long_click: '$', key_back_color: bh2, key_text_color: th2}
# - {click: g, long_click: '%', swipe_down: "date_time", key_back_color: bh2, key_text_color: th2}
# - {click: h, long_click: '!', swipe_down: "+", key_back_color: bh2, key_text_color: th2}
# - {click: j, long_click: '&', swipe_down: "-", key_back_color: bh2, key_text_color: th2}
# - {click: k, long_click: '*', swipe_down: "_", key_back_color: bh2, key_text_color: th2}
# - {click: l, long_click: '(){Left}', swipe_down: "=", key_back_color: bh2, key_text_color: th2}
# - {width: 5, key_back_color: bh2, key_text_color: th2}
# - {click: Shift_L, composing: delimiter, width: 15, hilited_key_back_color: benter, key_back_color: bbs, key_text_color: tbs}
# - {click: z, long_click: '`', swipe_down: '[]{Left}', key_back_color: bh3, key_text_color: th3}
# - {click: x, long_click: cut, swipe_down: '{}{Left}', key_back_color: bh3, key_text_color: th3}
# - {click: c, long_click: copy, swipe_down: ' ', key_back_color: bh3, key_text_color: th3}
# - {click: v, long_click: paste, swipe_down: "\\", key_back_color: bh3, key_text_color: th3}
# - {click: b, long_click: ";", key_back_color: bh3, key_text_color: th3}
# - {click: n, long_click: ":", key_back_color: bh3, key_text_color: th3}
# - {click: m, long_click: '?', swipe_down: "|", key_back_color: bh3, key_text_color: th3}
# - {click: BackSpace, width: 15, key_back_color: bbs, key_text_color: tbs}
# - {click: Keyboard_number, long_click: Menu, width: 12.5, key_back_color: bgn, key_text_color: tgn}
# - {click: Keyboard_bqsy1, ascii: Keyboard_bqsy2, long_click: Theme_settings, width: 12.5, key_text_size: "18", key_back_color: bgn, key_text_color: tgn}
# - {click: ',', label: ',', long_click: '<>{Left}', key_back_color: bh4, key_text_color: th4}
# - {label: '空格', click: space, long_click: Keyboard_edit, swipe_left: "Left", swipe_right: "Right", swipe_up: Schema_switchcn, width: 30, key_back_color: bkg, key_text_color: tkg}
# - {click: '.', label: '。', long_click: Keyboard_kao, key_back_color: bh4, key_text_color: th4}
# - {click: Mode_switch, long_click: '?', key_text_size: "18", key_back_color: bh4, key_text_color: th4}
# - {click: Return, swipe_up: Escape, width: 15, key_back_color: benter, key_text_color: tenter}
在ibus上使用rime
# 配置文件
/home/jcleng/.config/ibus/rime
# 把fcitx5的rime配置複製過來,然后部署一下
cp -r /home/jcleng/.local/share/fcitx5/rime /home/jcleng/.config/ibus/

# 在高分辨率的显示器上候选框不跟随光标位置,可以如下操作:
还原全局缩放率为: 100%
修改字体的dpi: 原来是92 修改为2倍: 192 重启即可

# 注意,在nixos下面关闭fontconfig才能预览显示emoji表情
fonts.fontconfig.enable = false;
rime自定义lua函数返回数据
-- 修改文件
~/.local/share/fcitx5/rime/rime_ice.schema.yaml

-- 里面增加
engine/translators:
  - lua_translator@my_translator

-- 编辑根目录的rime.lua文件,增加自己的方法
-- 我自己的方法
function my_translator(input, seg)
    if (input == "rq") then
       local cand = Candidate("date", seg.start, seg._end, os.date("%Y/%m/%d"), "")
       cand.quality = 1
       yield(cand)
    end
    if (input == "sjj") then
       local cand = Candidate("sjj", seg.start, seg._end, os.date("%H:%M"), " ")
       cand.quality = 1
       yield(cand)
    end
    -- 返回多个随机数候选项
    if (input == "rr") then
       local cand = Candidate("rr1", seg.start, seg._end, generate_random_timestamp(16), " ")
       cand.quality = 1
       yield(cand)
    end
    if (input == "rr") then
       local cand = Candidate("rr2", seg.start, seg._end, generate_random_timestamp(8), " ")
       cand.quality = 2
       yield(cand)
    end
end

-- 生成随机数
function generate_random_timestamp(lengthone)
    local timestamp = os.date("%Y%m%d%H%M%S")
    local random_number = string.format("%04d", math.random(0, 9999))
    local all = timestamp .. random_number
    return string.sub(all, 0, lengthone)
end


-- 重启框架
~/.local/share/fcitx5/rime/rime.lua
-- Rime Lua 扩展 https://github.com/hchunhui/librime-lua
-- 文档 https://github.com/hchunhui/librime-lua/wiki/Scripting

-- v 模式 symbols 优先(全拼)
v_filter = require("v_filter")

-- 以词定字,可在 default.yaml key_binder 下配置快捷键,默认为左右中括号 [ ]
select_character = require("select_character")

-- 日期时间,可在方案中配置触发关键字。
date_translator = require("date_translator")

-- Unicode,U 开头
unicode = require("unicode")

-- 数字、人民币大写,R 开头
number_translator = require("number_translator")

-- 自动大写英文词汇
autocap_filter = require("autocap_filter")

-- 降低部分英语单词在候选项的位置,可在方案中配置要降低的单词
reduce_english_filter = require("reduce_english_filter")


-- 默认未启用:

-- 长词优先(全拼)
-- 在 engine/filters 增加 - lua_filter@long_word_filter
-- 在方案里写配置项:
-- 提升 count 个词语,插入到第 idx 个位置。
-- 示例:将 2 个词插入到第 4、5 个候选项,输入 jie 得到「1接 2解 3姐 4饥饿 5极恶」
-- long_word_filter:
--   count: 2
--   idx: 4
long_word_filter = require("long_word_filter")

-- 中英混输词条自动空格
-- 在 engine/filters 增加 - lua_filter@cn_en_spacer
cn_en_spacer = require("cn_en_spacer")

-- 九宫格,手机用。
-- 在 engine/filters 增加 - lua_filter@t9_preedit
t9_preedit = require("t9_preedit")

-- 根据是否在用户词典,在结尾加上一个星号 *
-- 在 engine/filters 增加 - lua_filter@is_in_user_dict
-- 在方案里写配置项:
-- is_in_user_dict: true     为输入过的内容加星号
-- is_in_user_dict: flase    为未输入过的内容加星号
is_in_user_dict = require("is_in_user_dict")

-- 词条隐藏、降频
-- 在 engine/processors 增加 - lua_processor@cold_word_drop_processor
-- 在 engine/filters 增加 - lua_filter@cold_word_drop_filter
-- 在 key_binder 增加快捷键:
-- turn_down_cand: "Control+j"  # 匹配当前输入码后隐藏指定的候选字词 或候选词条放到第四候选位置
-- drop_cand: "Control+d"       # 强制删词, 无视输入的编码
cold_word_drop_processor = require("cold_word_drop.processor")
cold_word_drop_filter = require("cold_word_drop.filter")

-- 我自己的方法
function my_translator(input, seg)
    if (input == "rq") then
       local cand = Candidate("date", seg.start, seg._end, os.date("%Y/%m/%d"), "")
       cand.quality = 1
       yield(cand)
    end
    if (input == "sjj") then
       local cand = Candidate("sjj", seg.start, seg._end, os.date("%H:%M"), " ")
       cand.quality = 1
       yield(cand)
    end
    -- 返回多个随机数候选项
    if (input == "rr") then
       local cand = Candidate("rr1", seg.start, seg._end, generate_random_timestamp(16), " ")
       cand.quality = 1
       yield(cand)
    end
    if (input == "rr") then
       local cand = Candidate("rr2", seg.start, seg._end, generate_random_timestamp(8), " ")
       cand.quality = 2
       yield(cand)
    end
    if (input == "rr") then
        local cand = Candidate("get_random_address", seg.start, seg._end, get_random_address(), " ")
        cand.quality = 2
        yield(cand)
    end
    if (input == "rr") then
        local cand = Candidate("generate_random_phone", seg.start, seg._end, generate_random_phone(), " ")
        cand.quality = 2
        yield(cand)
    end
    if (input == "rr") then
        local cand = Candidate("get_weekday_utc8", seg.start, seg._end, get_weekday_utc8(), " ")
        cand.quality = 3
        yield(cand)
    end
end

-- 生成随机数
function generate_random_timestamp(lengthone)
    local timestamp = os.date("%Y%m%d%H%M%S")
    local random_number = string.format("%04d", math.random(0, 9999))
    local all = timestamp .. random_number
    return string.sub(all, 0, lengthone)
end

-- 返回随机地址
function get_random_address()
    local address_list = {
        "贵州省毕节地区毕节市麻园路金泉小区12号楼6单元504室",
        "浙江省台州市三门县珠岙镇朝阳大道4号",
        "黑龙江省双鸭山市尖山区尖山路锦绣路16号5楼",
        "四川省成都市彭州市桂花镇松柏巷53号",
        "北京市西城区广安门外街道鸭子桥路鸭子桥南里6栋",
        "河南省安阳市内黄县城关镇枣乡大道麟凤小区5栋3单元203室",
        "江苏省苏州市吴江区平望镇通运东路吴江百盛花园14号楼",
        "上海市宝山区顾村镇菊泉街488弄菊泉街488弄15号楼1单元1101号",
        "北京市房山区城关街道杏花东路中国铁建原香嘉苑7"
    }
    -- 检查输入是否为一个非空数组
    if type(address_list) ~= "table" or #address_list == 0 then
        return nil  -- 如果数组为空或无效,返回 nil
    end

    -- 获取数组的随机索引
    local random_index = math.random(1, #address_list)

    -- 返回随机地址
    return address_list[random_index]
end

-- 生成随机手机号
function generate_random_phone()
    local phone_prefixes = {
        "130", "131", "132", "133", "134", "135", "136", "137", "138", "139",
        "147", "150", "151", "152", "153", "155", "156", "157", "158", "159",
        "176", "177", "178", "182", "183", "185", "186", "187", "188", "199"
    }
    -- 随机选择一个号段
    local prefix = phone_prefixes[math.random(1, #phone_prefixes)]

    -- 随机生成后 8 位数字
    local suffix = ""
    for _ = 1, 8 do
        suffix = suffix .. tostring(math.random(0, 9))
    end

    -- 返回完整手机号
    return prefix .. suffix
end
function get_weekday_utc8()
    local weekdays = {
        "星期日",
        "星期一",
        "星期二",
        "星期三",
        "星期四",
        "星期五",
        "星期六"
    }
    local current_wday = os.date("*t").wday
    return weekdays[current_wday]
end